As embedded systems are becoming smaller, cheaper and more powerful, it is getting easier to bridge the gap between the physical and the digital world. We are now living in increasingly data-rich environments, largely due to the growing number of connected “things” we interact with on a daily basis. The available data can be used to better understand city dynamics and improve the quality of life we have. Projects such as the Array of things and Sense your City use DIY sensors to provide citizens with information about their surroundings.
Arduino, Raspberry Pi and Beagle Bone are among the most popular open-source hardware platforms that provide a great starting point for beginners.

Hello Johnny!
In this tutorial, we will see how to use the JavaScript Framework Johnny-Five to control a BeagleBone board.
Johnny-Five is a project developed at Bocoup. It provides an easy way to control digital devices and electronic objects using JavaScript. It is a Node.js package, which makes it compatible with a large number of existing modules for Node. Originally, the framework was developed to control Arduino devices, but it is now supporting more platforms including the BeagleBone and Intel Galileo.
Setting up the Board
The BeagleBone board should be running the latest Debian operating system. All boards produced after May 2014 are shipped with Debian by default. (Here are nice instructions on how to upgrade to Debian, if you are running an older operating system)
Once the board is connected via a USB cable, it will be accessible at IP 192.168.7.2. If you point your browser to http://192.168.7.2, you will see the default welcome page. You can also lookup the board by name — just type http://beaglebone.local instead.
To install the required packages you will need a working internet connection on the BeagleBone. The easiest way is to use an Ethernet cable to connect the board to the internet. Alternatively you can share your internet connection via USB (instructions for Mac and Windows).
Development Environment
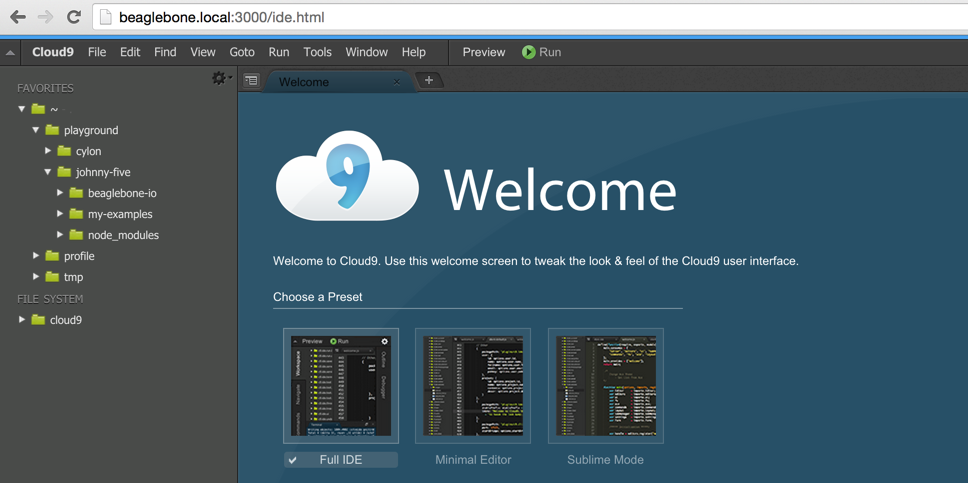
Beaglebone comes with a pre-installed development environment called Cloud9. Just point your browser to http://beaglebone.local:3000/ and you should see the welcome screen of the application. On the welcome screen select ‘Full IDE’ mode. Cloud9 allows us to develop directly on the board: it provides access to a terminal and makes it easy to write, run and debug scripts.
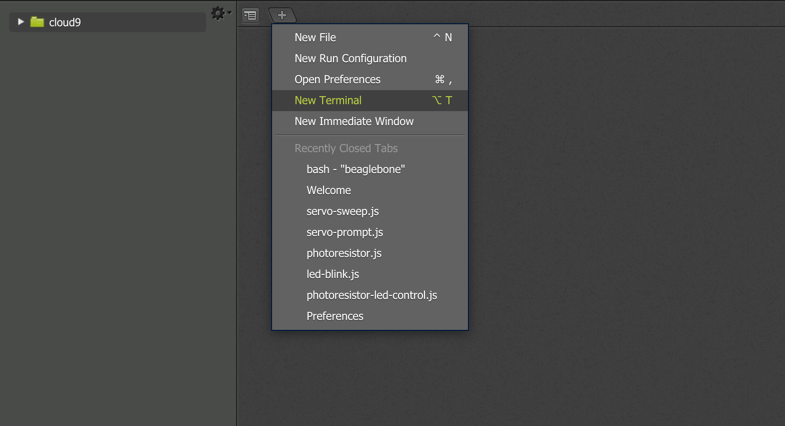
Let’s install Johnny-Five on the board. Open a new terminal:
You can execute commands in the terminal. Click inside the terminal panel to focus it.
Let’s first update the time on the board. Type in the following command:
$ sudo ntpdate ntp.ubuntu.com
Create a new directory for our tests:
$ mkdir morphocode
$ cd morphocode
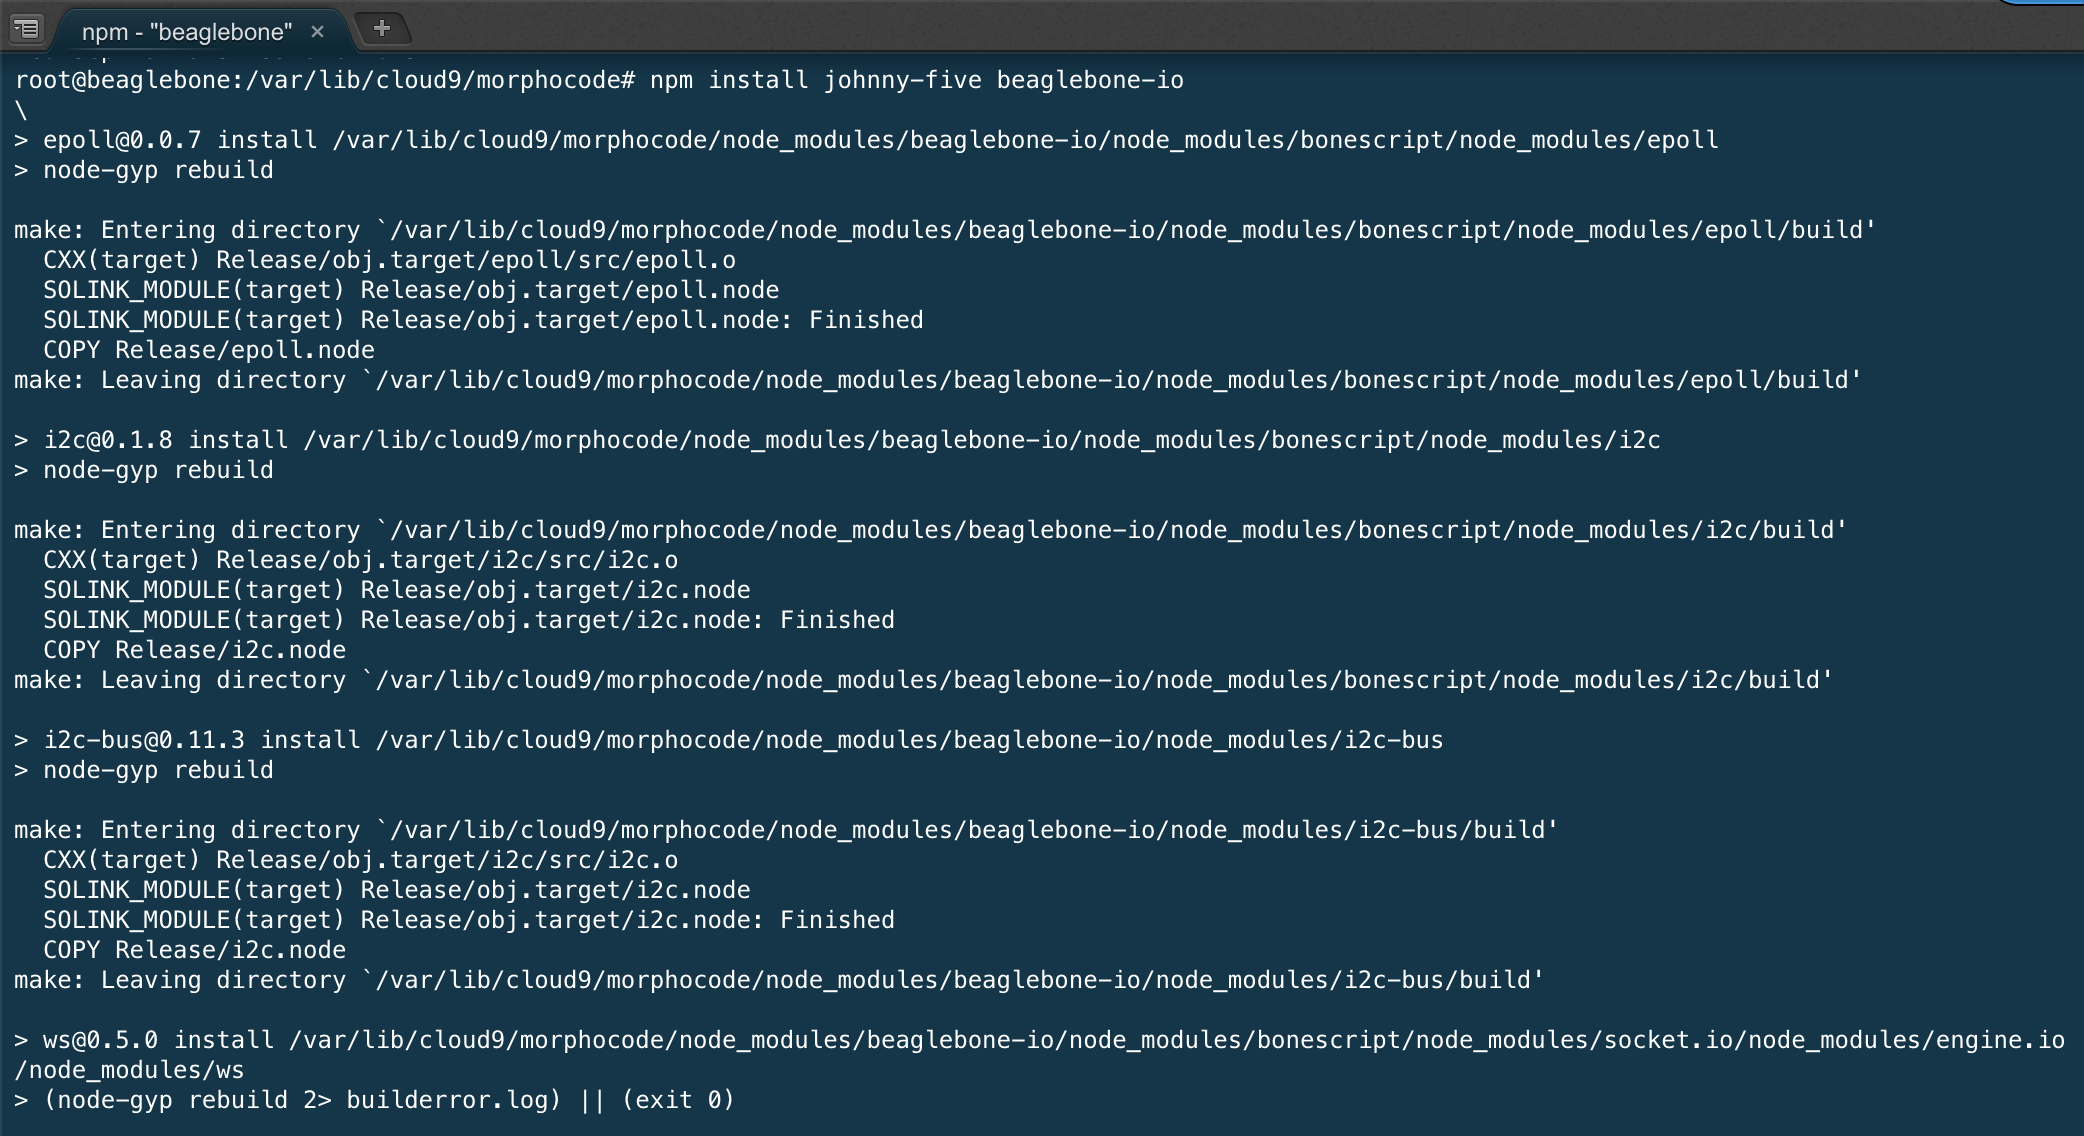
Then install Johnny-Five and the BeagleBone plug-in by running the following command in the terminal:
$ npm install johnny-five beaglebone-io
This will take a while until npm installs and builds the packages for us:
Hello World – Blinking Led
Let’s create a simple script that will make a LED light blink on the board. This is the famous “Hello World” of the hardware boards. We will need to take care of two things: first — the circuit on the board and second — the script that will control the LED.
The Circuit
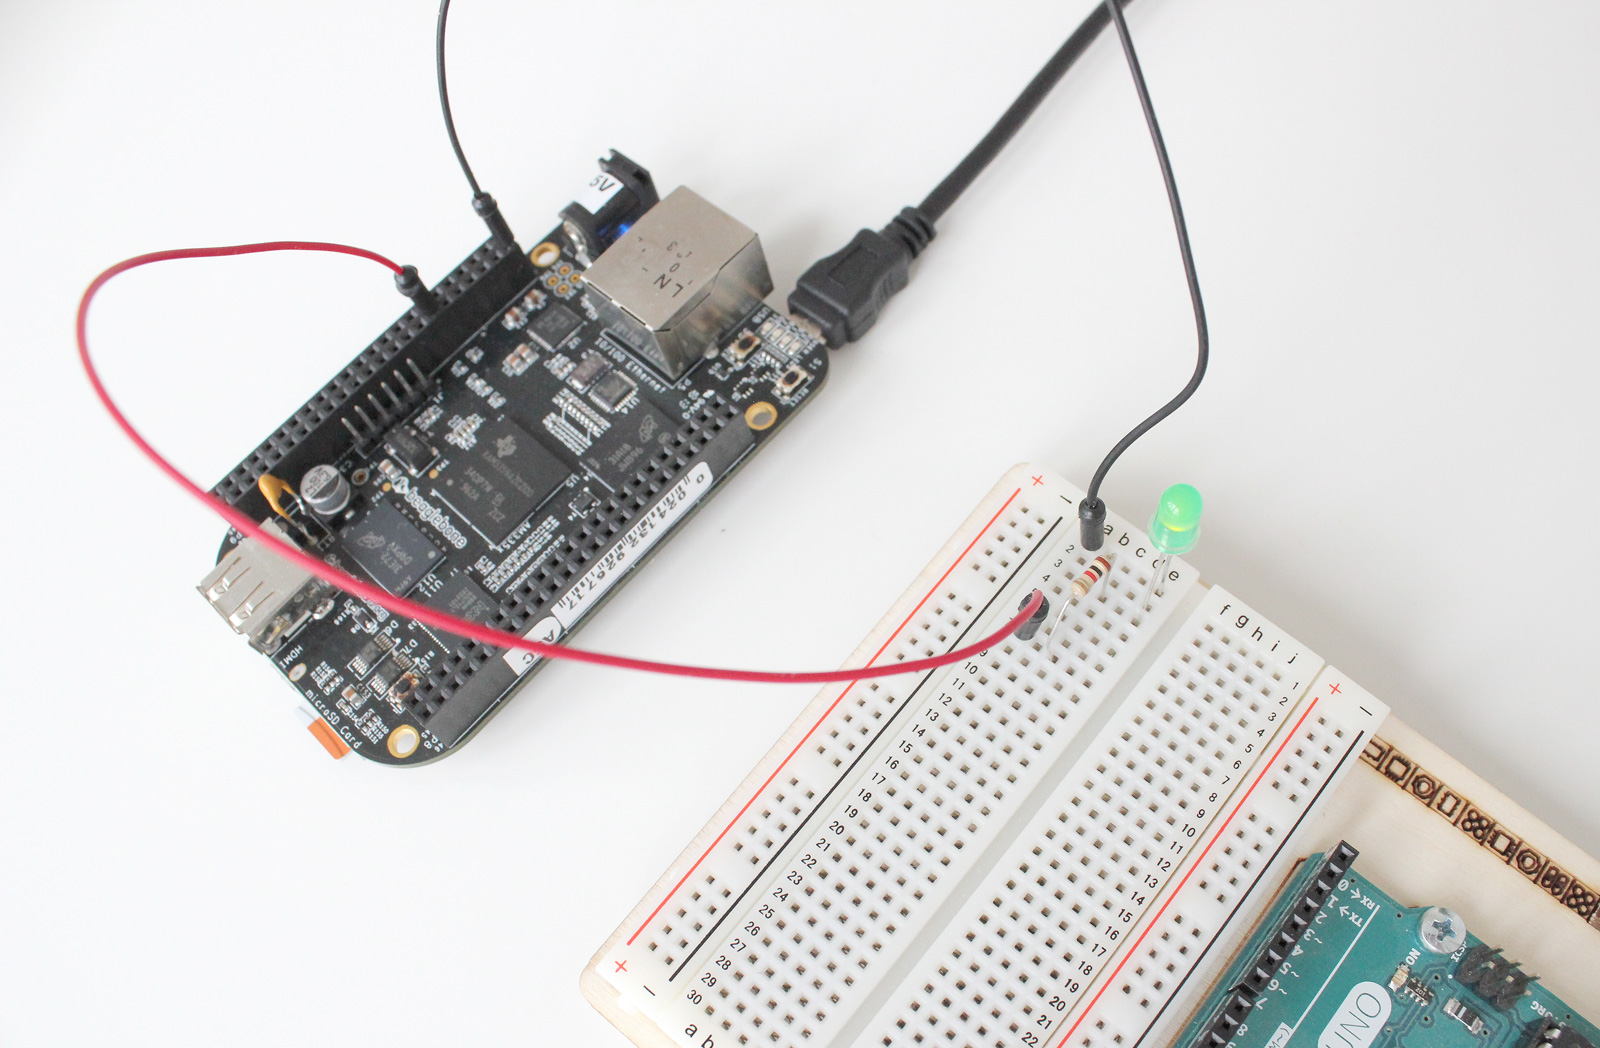
For the circuit, you will need a breadboard, 2 jumper wires(1 black and 1 red), 1 LED and 1 resistor:

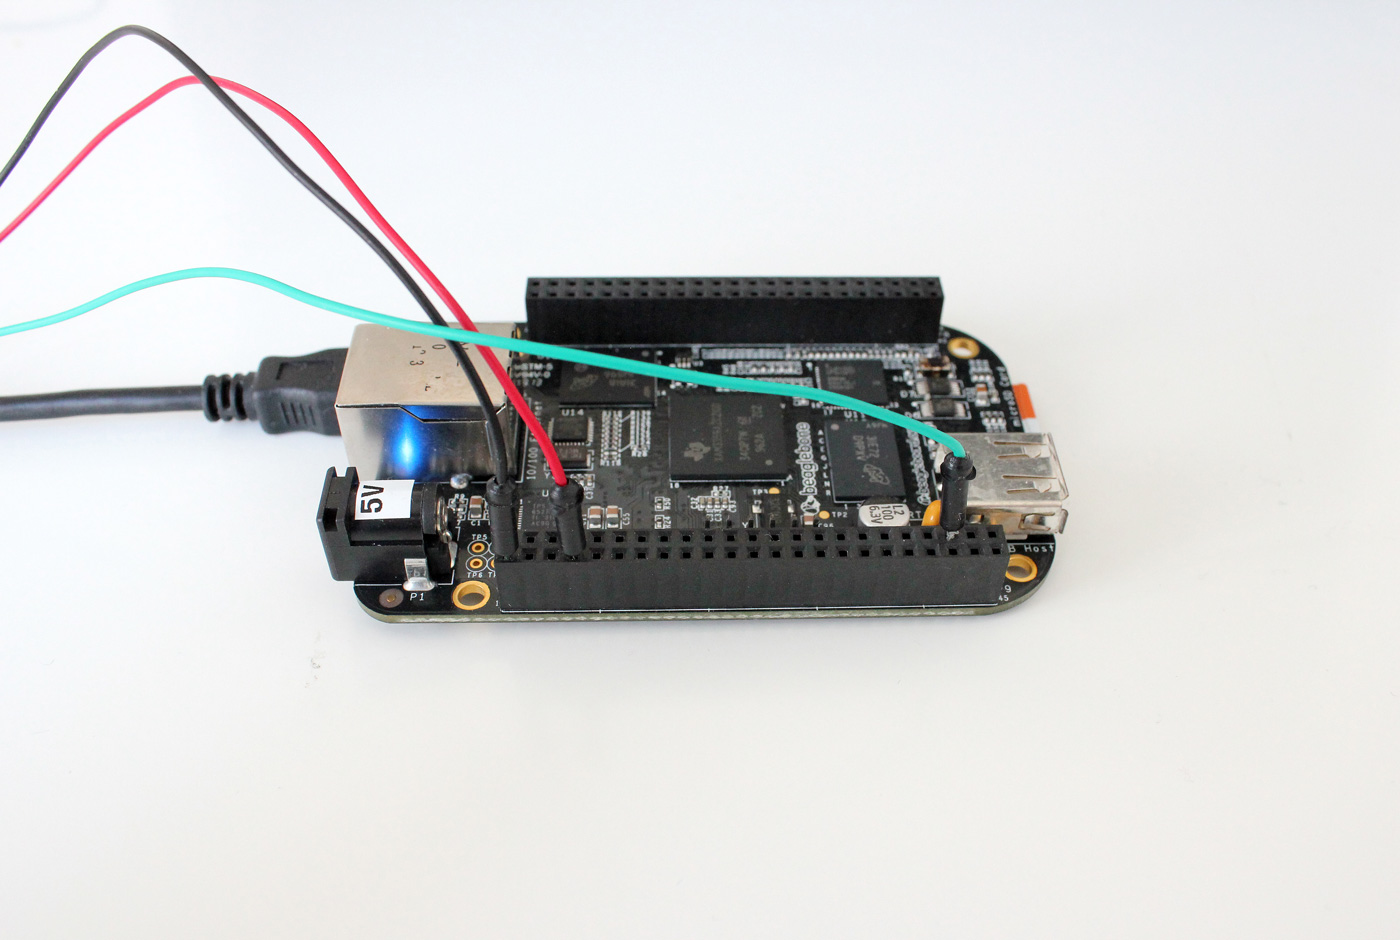
First, you need to connect the wires to the board. Plug the black wire in pin P9_02 and the red wire in pin P9_14 (Here is a diagram of the pins on the beaglebone):
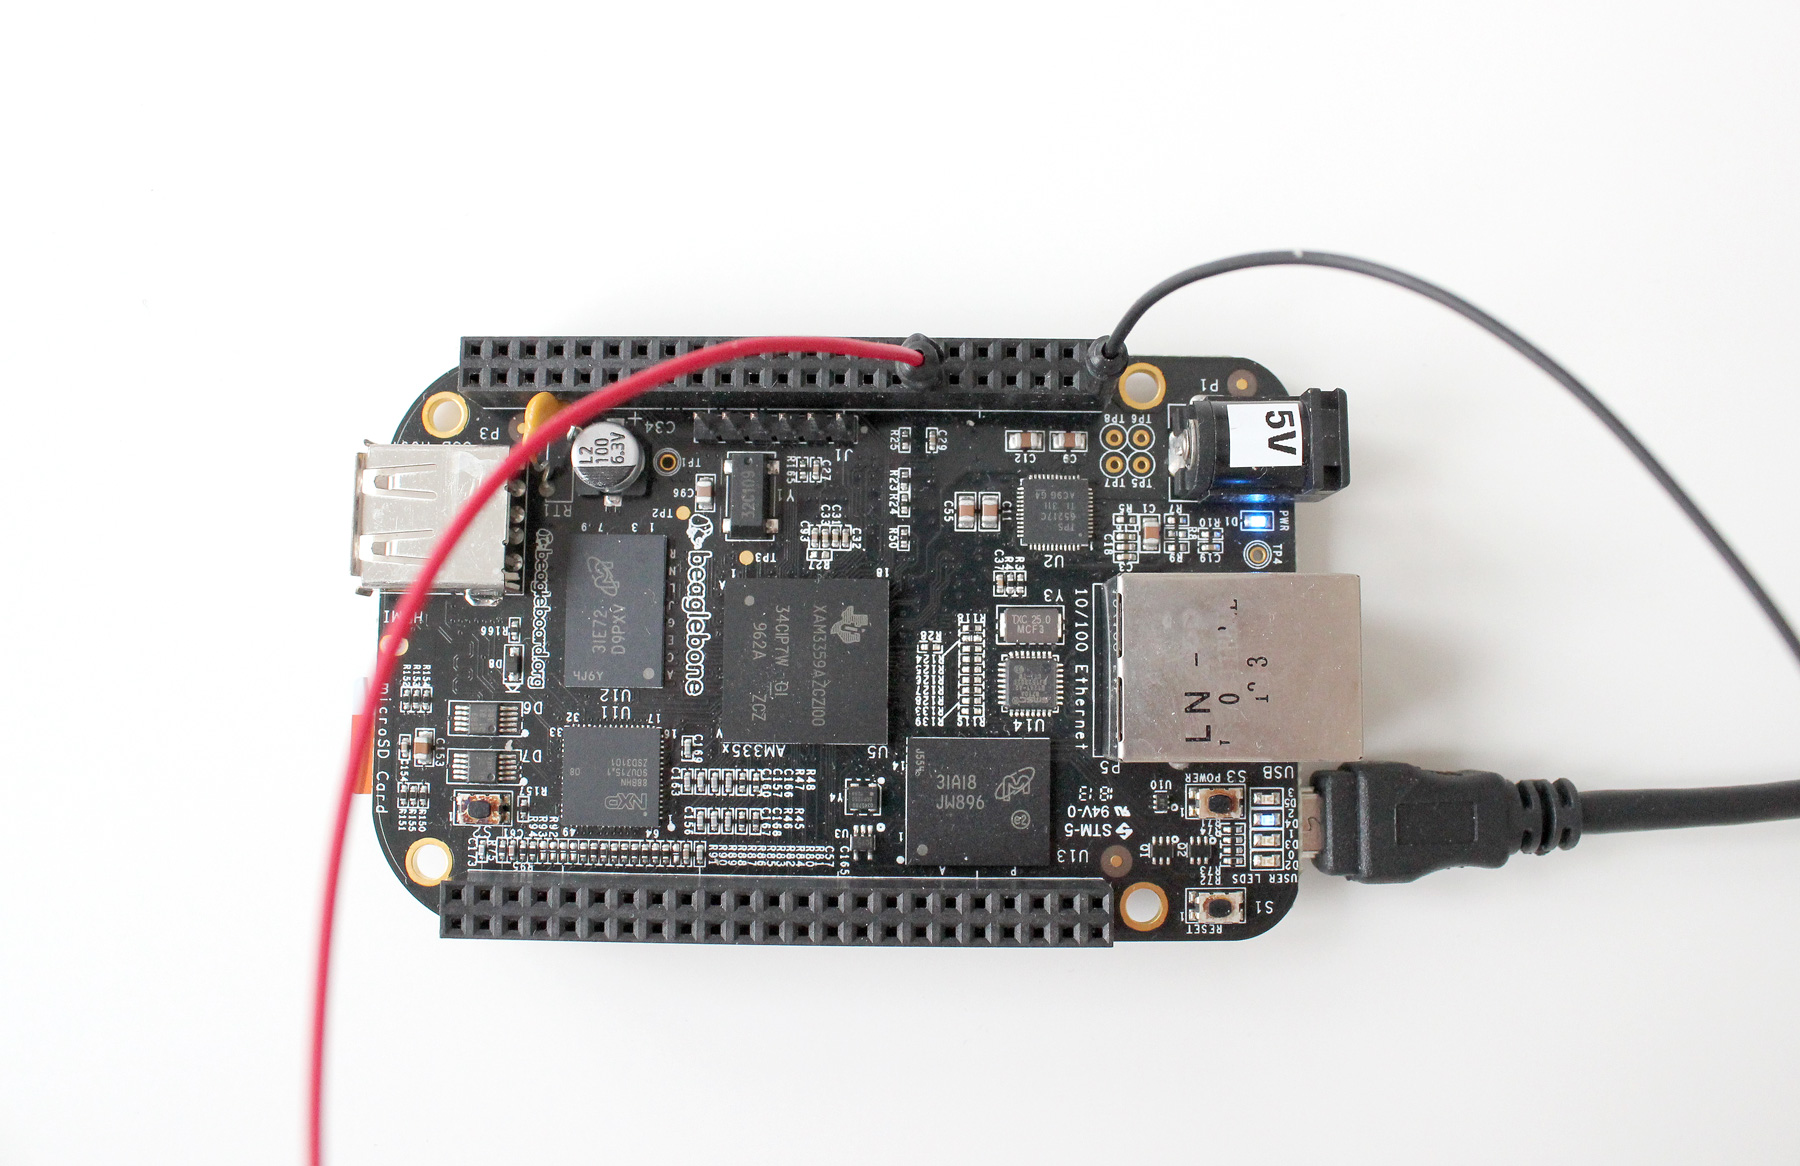
Then connect the rest of the components to the breadboard. There are various ways to connect the components and still achieve the same result. (Learn more about breadboards here)
In this case, we are going to use the rows of the breadboard. We will connect the black wire(Ground) on row 1 and the red wire (+5V Power) on row 7. Then we will connect the shorter end of the LED to the Ground(on row 1) and its longer end to row 3; from there via a resistor to the power supply (the red cable).

The Controller Script
Back In Cloud9, create a New File under the morphocode folder:
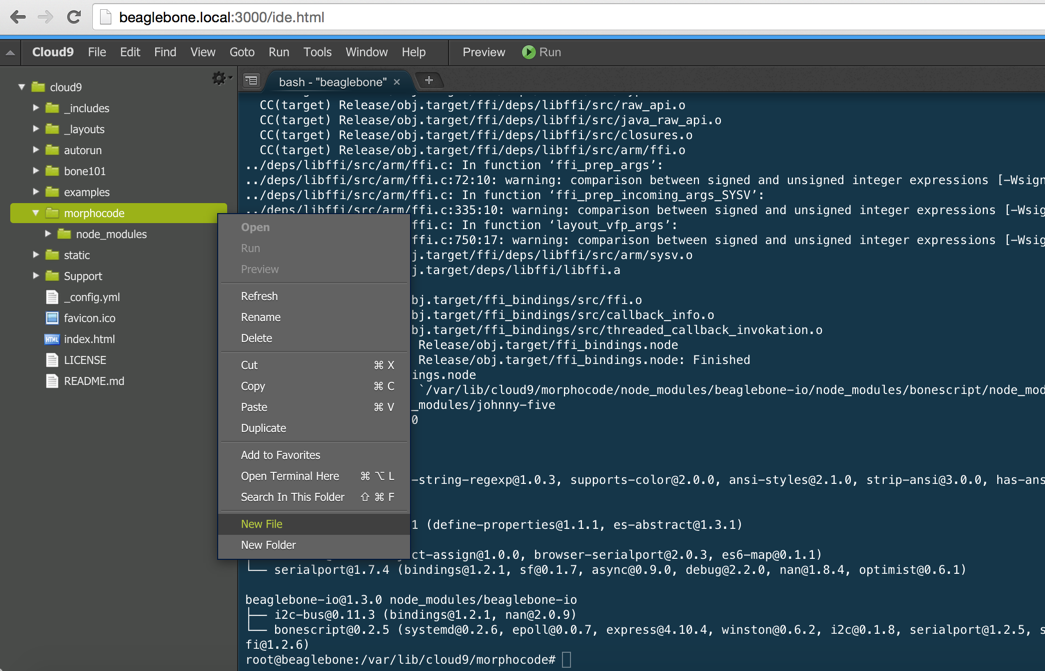
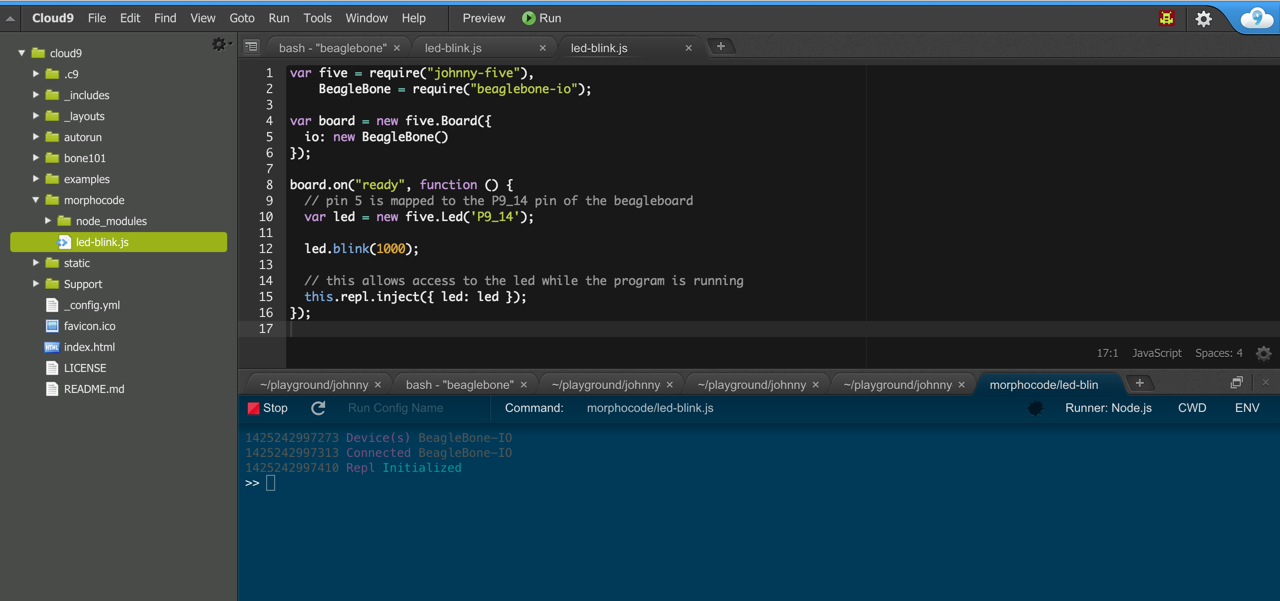
Name the new file led-blink.js and write the following code:
var five = require('johnny-five');
var BeagleBone = require('beaglebone-io');

var board = new five.Board({
    io: new BeagleBone()
});

board.on('ready', function () {
    // connect a Led on pin P9_14 of the beaglebone
    var led = new five.Led('P9_14');
    led.blink(1000);
    // this allows access to the led while the program is running
    this.repl.inject({ led: led });
});
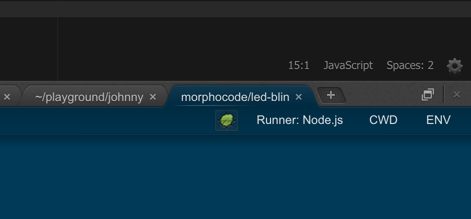
Save the file and let’s run the script on the board.
Click the Run button in the toolbar at the top. A new panel will popup at the bottom of the IDE. By default the script is run in debug mode. Let’s disable debugging for now: click on the green bug icon at the bottom and restart the program by clicking on Stop and Run once again. This will run the program in normal mode.
After a few seconds, Johnny-Five will be up and running and you should see a couple of messages in the terminal.
If everything is properly connected, the LED on the board should start blinking:
Learn More
In this tutorial, we saw how to run a Hello World script on the Beagle bone with Johnny-Five. While the framework is still under active development, it looks very promising.
You can have a look at the API and explore the available examples. To run the examples on your BeagleBone, you will have to update the scripts to use the BeagleBone interface:
var BeagleBone = require("beaglebone-io");

var board = new five.Board({
    io: new BeagleBone()
});
For more tutorials on creative coding subscribe for our learning platform Morphocode Academy.