PostGIS is a powerful extension to the PostgreSQL database that adds support for geometry types and geospatial functions such as point, line, polygon, distance, area, union, intersection, etc.
PostGIS can handle large amounts of data. It is at the core of CartoDB and plays nicely with QGIS, Tilemill / Mapbox Studio and GDAL.
In this tutorial, we will see how to install PostGIS on Mac OS X. We’ll use Homebrew to install the required packages, so make sure you have Homebrew installed on your system.
Install PosgreSQL
To install PostgreSQL open the terminal and run the following command:
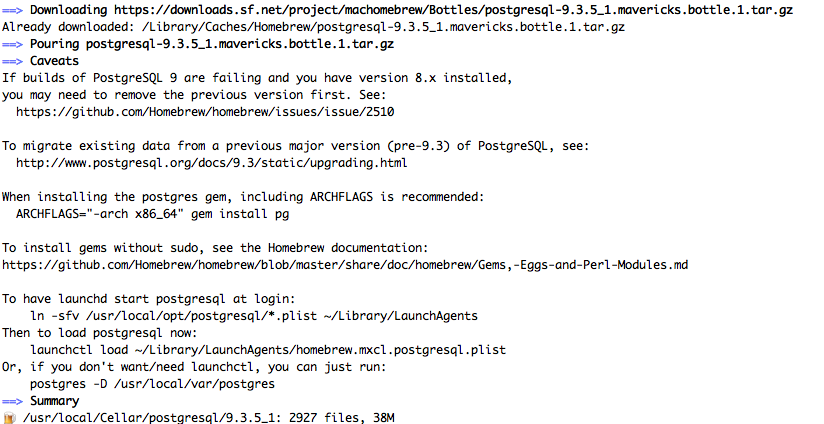
brew install postgres
You should see something like this:
By default the postgresql server will be installed under: /usr/local/var/postgres
Install PostGIS
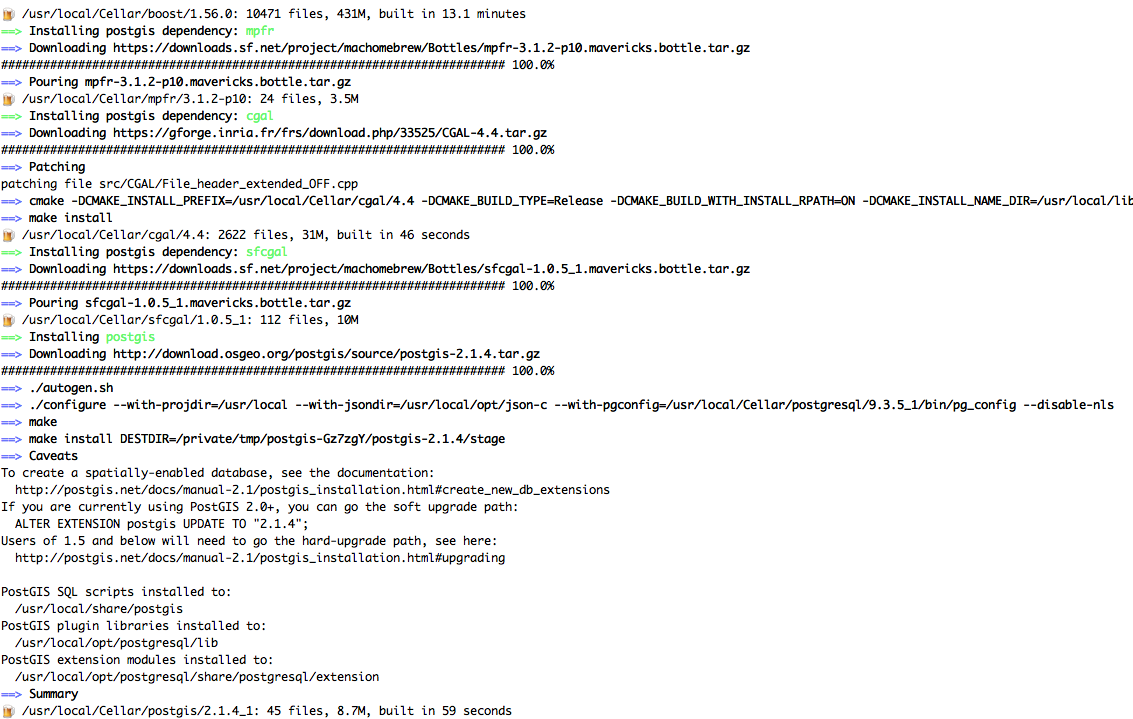
Back in the terminal run:
brew install postgis
Once again, homebrew will inform us about the progress:
Start Postgresql
To Start the server, we will use the command line utility pg_ctl. In the terminal, run:
pg_ctl -D /usr/local/var/postgres start
Let’s check if postgres is running:
export PGDATA='/usr/local/var/postgres'
pg_ctl status
You should see something similar to:
![]()
Create Database
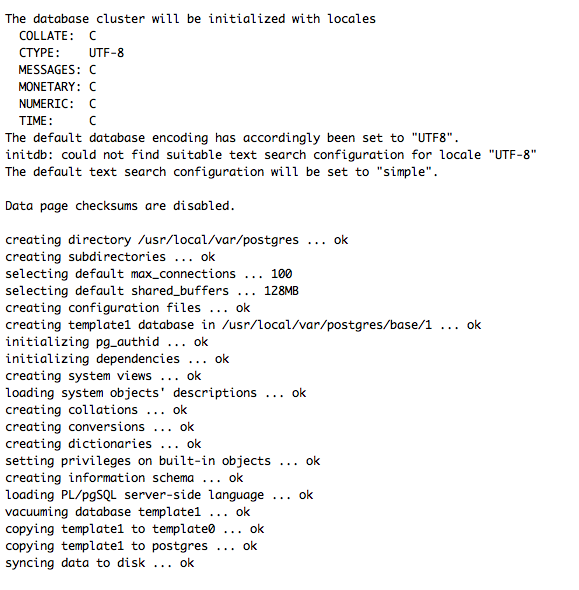
If that’s a fresh installation, we need to initialize the database cluster:
initdb /usr/local/var/postgres
Now we can create a new database. Let’s call it postgis_test
createdb postgis_test
Enable PostGIS
We’ll use the psql command line utility to connect to the database that we’ve just created:
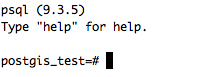
psql postgis_test
If everything goes well, we should see the psql command prompt:
To enable PostGIS, execute the following command:
CREATE EXTENSION postgis;
If everything is OK, we should see:

Let’s check if we have PostGIS support:
SELECT PostGIS_Version();
To quit psql, type the following command:
\q
Useful Commands
By now, you should have a working postgresql server with PostGIS support enabled. Here are a few more commands that you can find useful:
Stop postgresql:
pg_ctl -D /usr/local/var/postgres stop -s -m fast
Start postgresql and use a log file
pg_ctl -D /usr/local/var/postgres -l /usr/local/var/postgres/server.log start
Check if postgres is installed:
brew info postgres
To drop the database run:
dropdb postgis_test
Delete the PostgreSQL cluster:
rm -rf /usr/local/var/postgres/
From within psql, we can use the following command to list all tables in our database:
\dt

Hi!
I am not able to create a new db. When i introduce the psql postgis_test command, ask me for a password. I’ve tried all of my passwords and still not working. ¿Any hint?
Thanks!!
Thanks for clear and accurate instructions. After trying unsuccessfully to follow instructions in several other places, I came across your article and my installation then went smoothly.
Precise & worked perfectly well on my macOS Mojave v10.14.4
Thank you!
Fantastic ! Out of. the box … just be careful to remove any previous installation you had before and ifever an ERROR goes saying the cluster directory is not empty … just remove it and redo the cluster step.
Is there anyway to undo all of this?